
How to Install the AIRLOCK ONE RV Air Purifier | Easy Install for Clean Air on the Go!
Share
When you’re living or traveling in an RV, indoor air quality is just as important as having reliable power and a sturdy roof. Whether you're dealing with pet dander, cooking odors, or outdoor pollutants, the AIRLOCK ONE RV Air Purifier can make a big difference in keeping your RV air fresh and clean. In this guide, we’ll walk you through the simple steps to install the AIRLOCK ONE in your RV’s A/C system, ensuring a healthier and more comfortable travel experience.
Why Install the AIRLOCK ONE in Your RV?
RV interiors can trap dust, odors, and allergens, leading to stale air and potential health issues. The AIRLOCK ONE uses Bipolar Ionization Technology - similar to systems used in hospitals and commercial HVAC setups - to balance negative and positive ions, reducing airborne contaminants. Here are some of the key benefits:
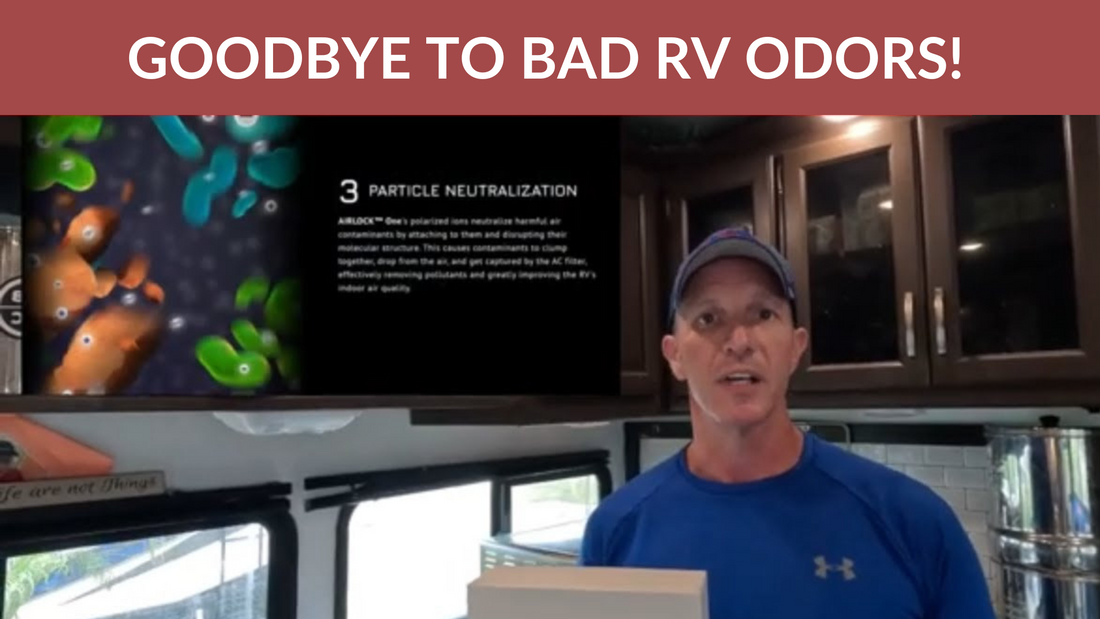
- Eliminates Odors – Say goodbye to lingering cooking smells, pet odors, and musty air.
- Improves Air Quality – Helps neutralize bacteria, mold, and other airborne pollutants.
- Compact & Easy Installation – Designed to fit seamlessly into your RV’s A/C system with multiple mounting options.
Step-by-Step Installation Guide
In our YouTube tutorial, we demonstrate how to install the AIRLOCK ONE in a Coleman Mach A/C unit, but the process is similar for other RV air conditioning systems. Follow these steps for a smooth installation:
1. Unboxing the AIRLOCK ONE
Begin by unboxing your AIRLOCK ONE RV Air Purifier. Inside the package, you should find:
- The AIRLOCK ONE unit
- Mounting hardware
- Power cables
- Installation instructions
2. Choosing the Best Location
For optimal performance, install the AIRLOCK ONE near your RV’s air intake or air distribution side in the A/C unit. This placement ensures that the purifier effectively cleans and circulates air throughout your RV.
3. Mounting the AIRLOCK ONE
Secure the unit using the provided mounting hardware. Depending on your A/C model, you may need to use adhesive strips or screws to ensure a firm hold.
4. Connecting to Power
The AIRLOCK ONE is designed to connect directly to your RV’s 120V power system. Carefully attach the power cables following the included instructions, ensuring a secure and safe connection.
5. Testing the Unit
Once installed, turn on your A/C and check that the AIRLOCK ONE is working properly by looking for the purple power light. You should notice an improvement in air quality within a short period.
Breathe Easier in Your RV
Installing the AIRLOCK ONE RV Air Purifier is an easy, effective upgrade that enhances your RV lifestyle. With cleaner air and fewer odors, you can enjoy a healthier and more comfortable living space on the road.
For a detailed, step-by-step installation guide, check out our YouTube video: How to Install the AIRLOCK ONE RV Air Purifier.